Product flyers are great for showing off your brand and releasing a new product to your audience. Most often than not it is best to use a graphic designer but we want to show you some basics to get you started in case you want to save a little bit in your budget or want to know more about the design process.
First, Select “New” document and select the size document you would like. For this we chose a 2 x 3.5 in document (all units are in picas but will convert) make sure to put in inches if that is the measurement you want to use.
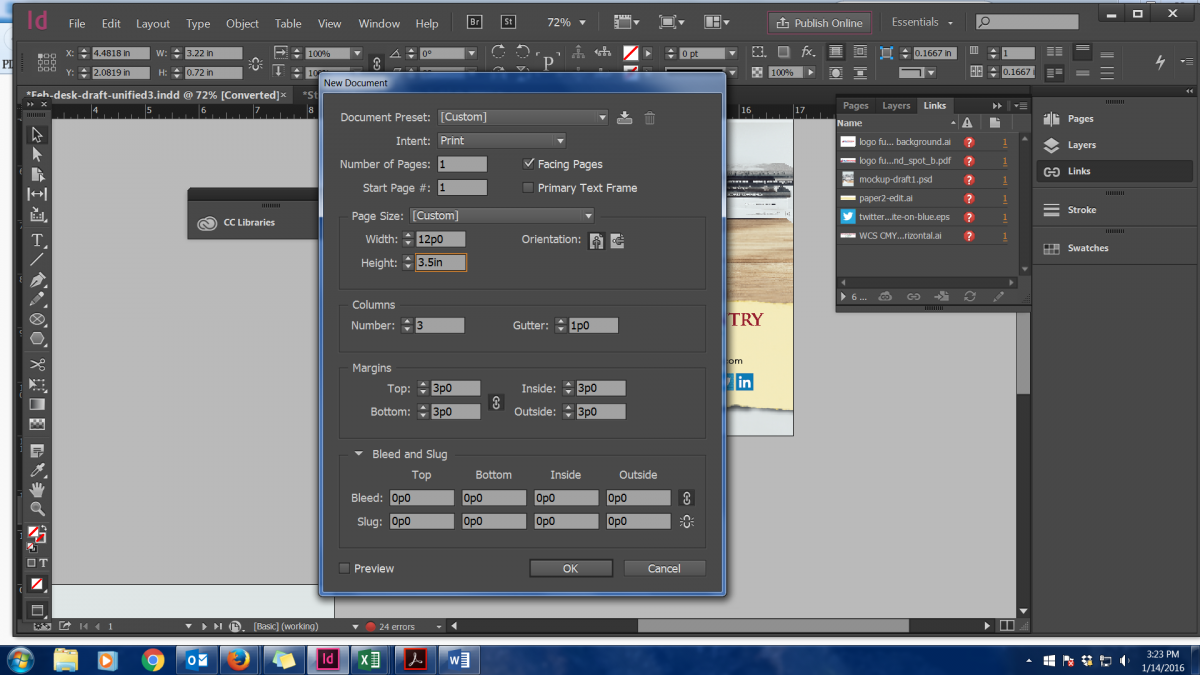
Then at the bottom add a bleed (.125 in is standard for any printer)
Then press OK
Now you have your document and you can begin to place your images/text.
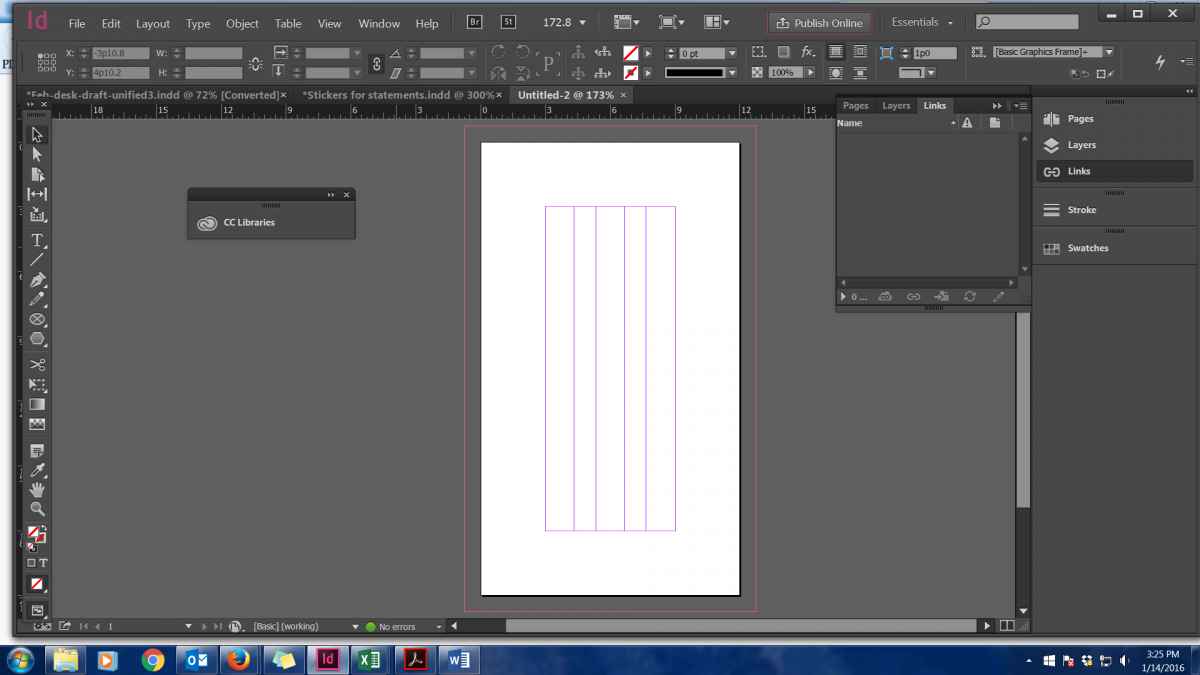
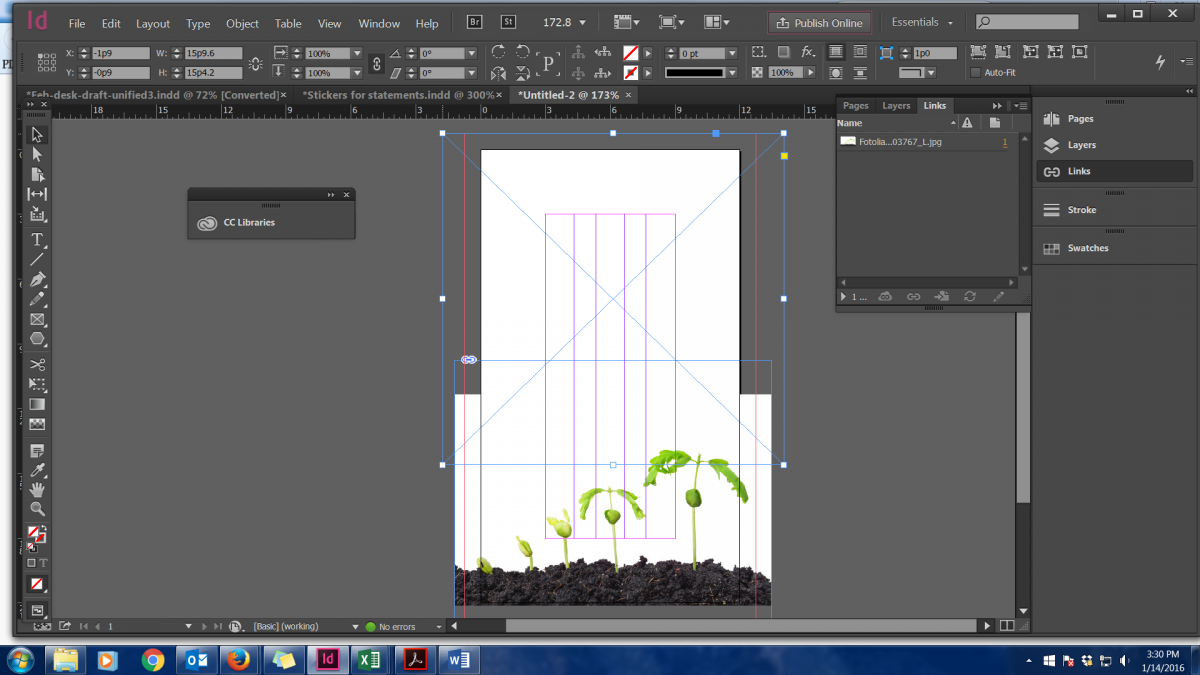
On the left tools panel click on the Square box with and X through it, which is your rectangle frame tool. Click and drag the rectangle until it is your desired size.
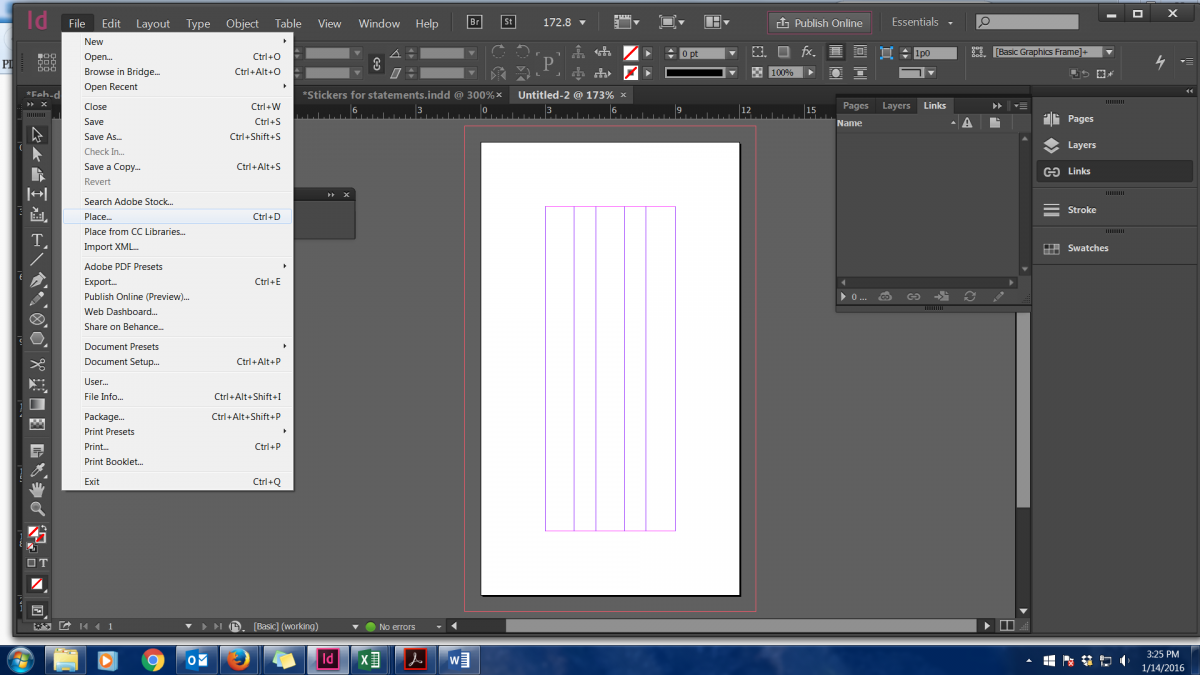
Click on the FILE --> PLACE and choose which photo(s) you would like to use and position them how you like. For this, I am only using one photo and some text to show you a basic design. Make sure all your photos are vector or high resolution (300 dpi or above) and your logo is vector.
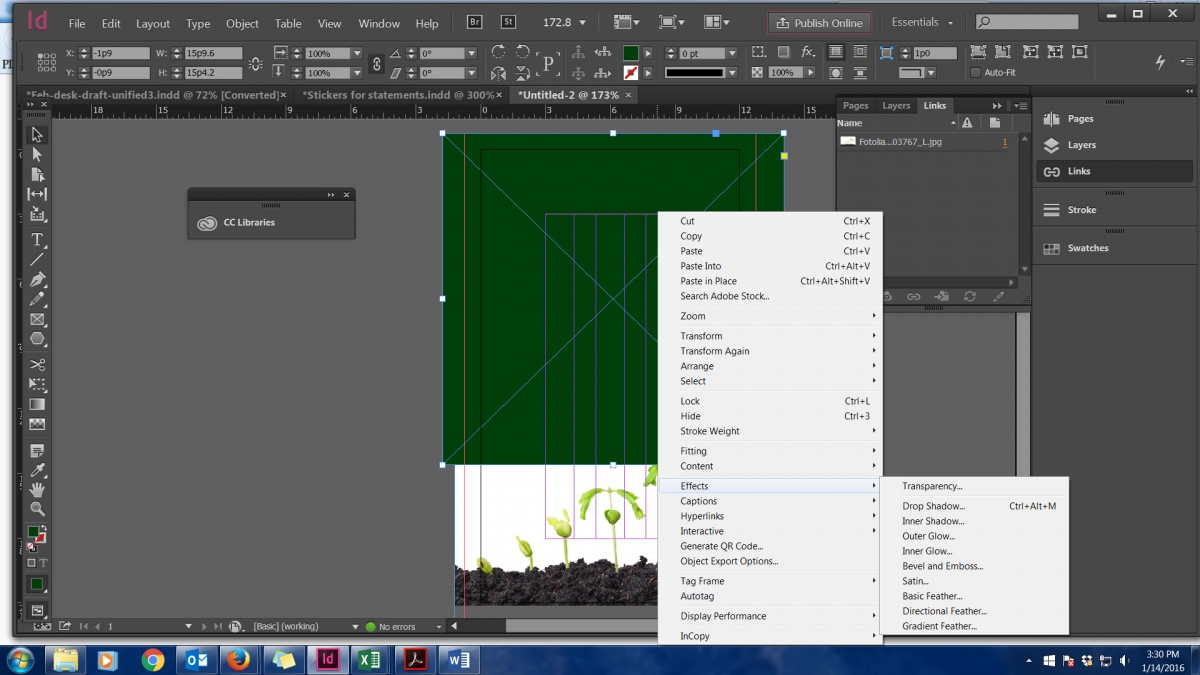
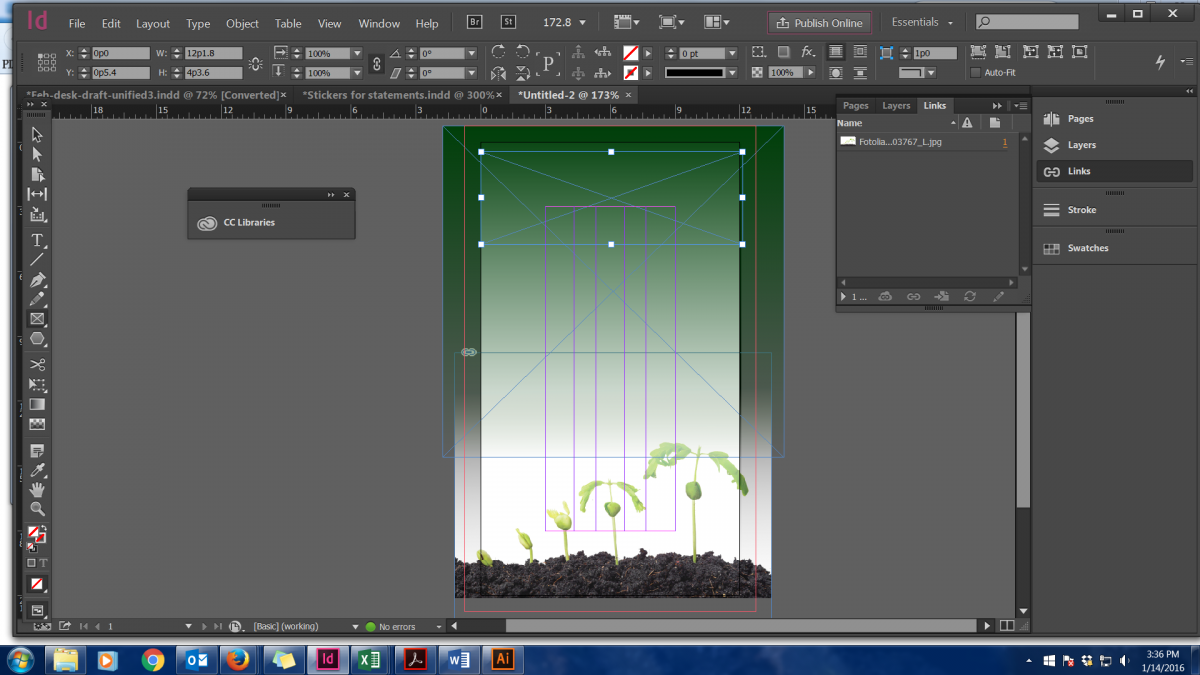
Next I am going to click on the rectangle frame tool to draw another rectangle where my background will be. Then at the top tool bar I and going to click on my color pallet and chose a green color for the background. Place where you would like and in order to get a gradient, right click on the box and go to “EFFECTS” then click on GRADIENT FEATHER and make sure the “preview” box is selected so you can view and play around until to achieve the desired effect.
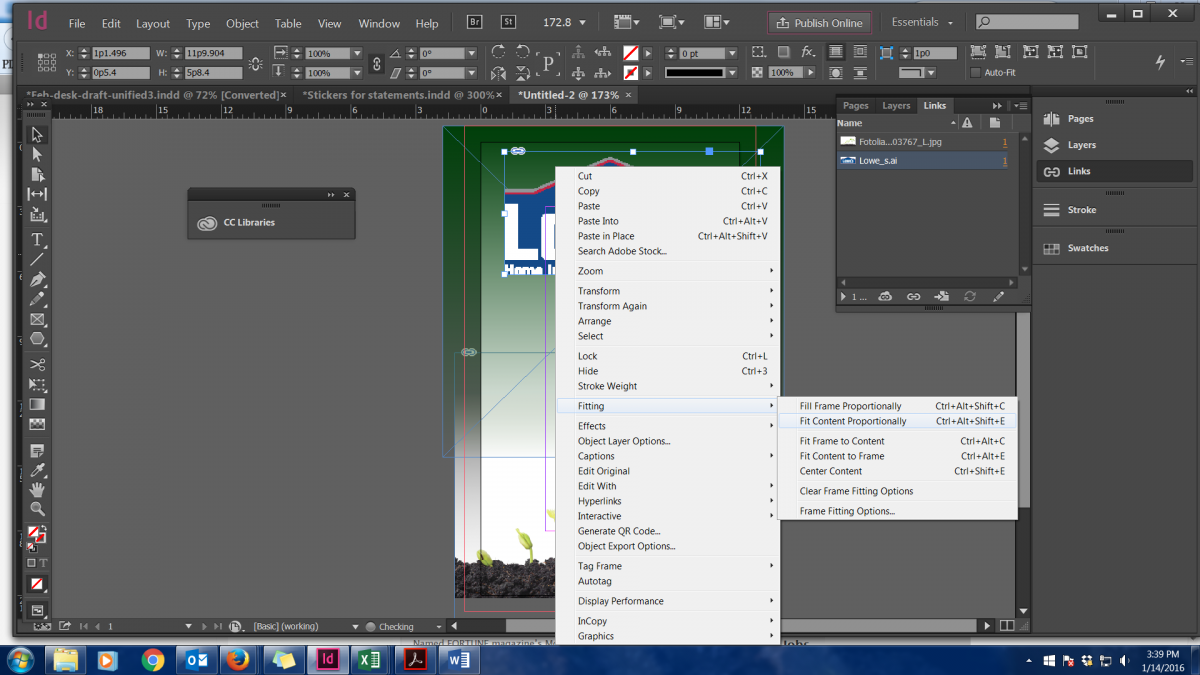
Next we are going to put in a logo, which is the same process as for a photo. Use your rectangle frame tool and place the image into the box. The logo may not be visible and if so right click and go to “FITTING” then click on “Fit Content to Frame” and the image will be centered.
Next we are going to add some text and a price to our product label. On the right tool bar click on the “T” the sixth option down from the top. Then make your box based on the desire of where your text will lay and type in your message. Pick a different font or adjust the size in the boxes in the top left panel.
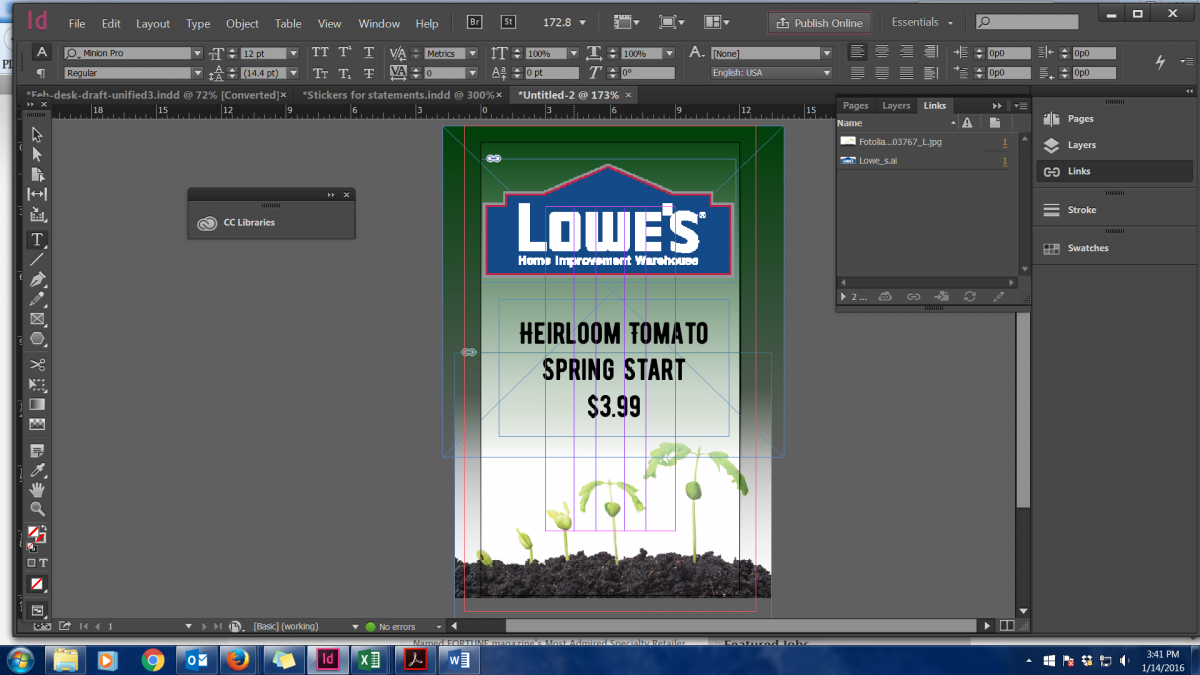
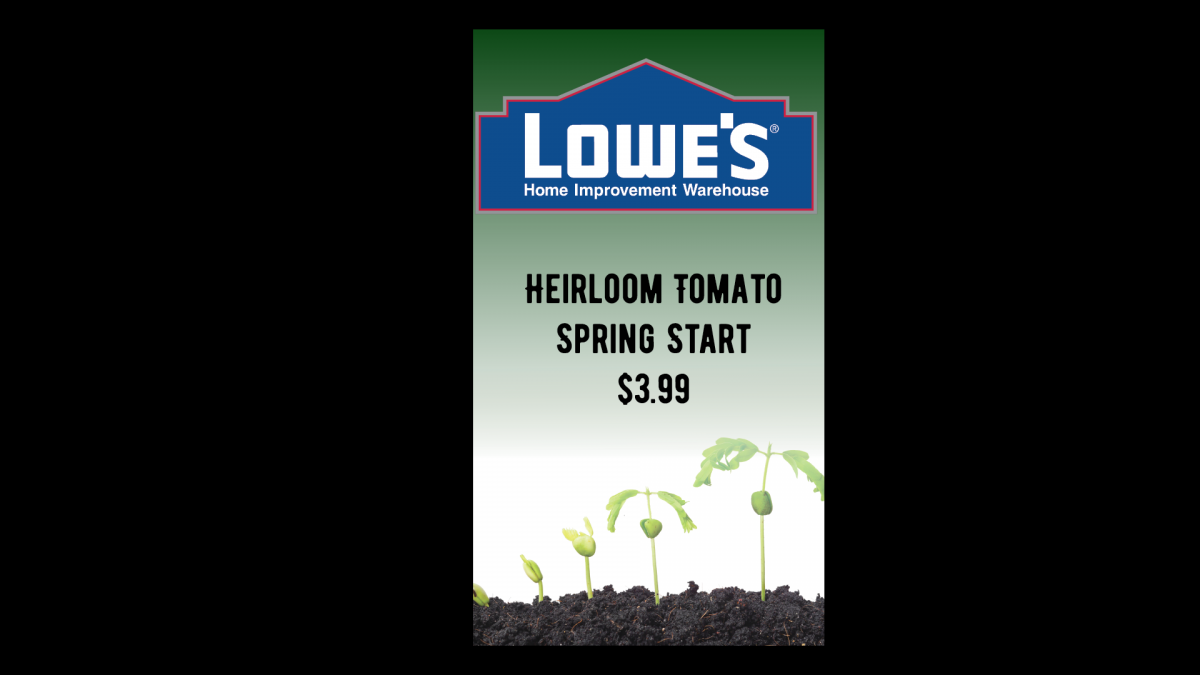
Then you have your basic product label. To view your document without guides or markers press Shift “W” and you can see it in full screen.
Then export the document into a print ready PDF with printers marks (crop and bleed marks) and send to your favorite printer.
Make sure to not put a lot of text or images on your label since they will appear much smaller than your computer screen and could be hard to read. If you need help we offer graphic services and would happy to help in any product or venture you may be taking on. Our deisngers have over 20 years experience and can come up with a design that would be sure to wow your customers.
Happy designing!
AJ Printing & Graphics and Wine Country Signs is a commercial printer in Santa Rosa, California specializing in the print and sign industry and graphic design. We put our relationships with our clients over everything in order to ensure their success. With over 30 years’ experience in the industry, leave the printing to us and focus on other things. We are a green business, recycling all of our paper and buying from trusted businesses that commit to the sustainability of our planet. We are your partner in print, design and marketing located at 1315 North Dutton Ave, Santa Rosa, CA (707) 525-8600!